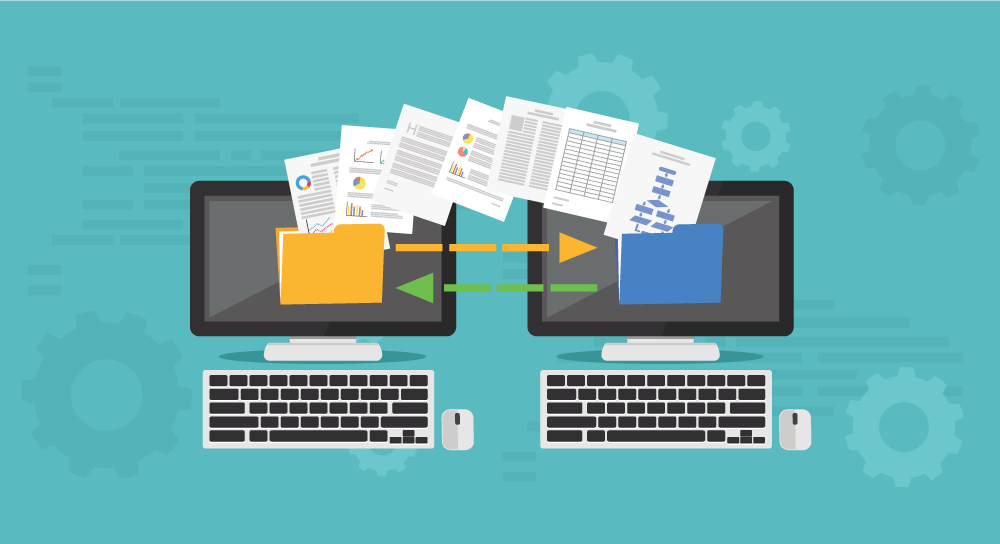
A migration is inevitably required for almost all websites and applications, from websites using popular open source applications such as Drupal, WordPress, Joomla, and Magento, as well as complex custom enterprise level applications. Migrations occur for many different reasons including, but not limited to: data center closures, server security compromise, disaster recovery, server hardware/operating system upgrades, or to establish an elastic or scalable footprint on a cloud network.
Many companies have thousands (if not millions) of dollars invested in their existing applications. Most organizations now solely rely on their web-based applications, which have been custom tailored to meet the needs of their business processes, to run their day to day operations. Re-building the applications, as opposed to updating, maintaining and migrating them, is generally cost prohibitive and often unnecessary.
Though migrations are mostly inevitable they are rarely well-planned, and even less frequently budgeted for in terms of cost and time. A poorly planned and ineffective execution of a migration can cause significant delays in migration timeline as well as cost overruns or worse, data loss and/or revenue loss ultimately culminating in an unnecessarily painful and time-consuming exercise that prevents the successful modernization of your website and application infrastructure.
Every application or server migration is unique. Preparing a plan to execute a successful application migration should be based upon the type of application requiring migration, the type of source and destination physical or virtual architecture you’re migrating between, and the data volume, specifically the dynamic data volume requiring migration.
Application Migration Best Practices Step 1: Destination Server Architecture
From a simple shared hosting account to a complex environment involving load balancers, firewalls, multiple web-heads, physical and cloud servers, you must first properly architect the destination server environment before starting your migration.
Your plan should consider the type of application you’re migrating and your unique business requirements. More specifically, the requirements for destination server architecture are based mainly upon your requirements for expandability or elasticity, any redundancy you may be looking to put into place, the level of service you require at your new host, any compliance standards your organization needs to meet, and of course obviously you’ll want to take into account the reason you’re migrating the application in the first place. If this step is rushed or skipped altogether, you could end up having to repeat the entire migration, or worse, you could end up going live on an environment that cannot appropriately support the application you’ve migrated, resulting in downtime and a failover back to the old environment often resulting in a fatal data loss.
Application Migration Best Practices Step 2: Perform Initial Migration
Ideally, when the migration process is started, all development related activity on the applications being migrated is suspended for the entire course of the migration project. If this isn’t an option, then you’ll need to have your development team diligently document any specific files which have been modified during the course of the migration project.
The first step is to prepare your data for transfer to the destination server environment. If you have root/administrative access to your source server environment, and sufficient drive space available on your source server to prepare a full compressed backup of the files/folders and databases requiring migration, that’s where you’ll want to begin. Please note, when backing up larger databases, you may encounter table locking issues depending on the resources available at the source server environment. If you believe you’ll encounter such issues (which will impact your live services), the best approach here may be to use the latest available backup of the database for the initial migration process. If root/administrative access isn’t available at your source server, you’ll likely have to set up a basic FTP connection (sFTP preferred) between the source and destination server environment and transfer the files one-by-one.
Best practices during the migration of an application/website/server would dictate that you try to set up the application at the destination server environment as close as possible to the source server environment. Try to use the same folder paths (to avoid potential issues with hard-coded paths), as well as the same database names and usernames. This isn’t always possible depending on the new operating system or other active services (like web control panels), however, the closer you can match the configuration at both source and destination servers generally results in an easier path to configure the application in the new environment.
Once the files and databases are copied to the destination server, restore them to the appropriate home directory folders and restore the database to the respective database server. The next step will be reconfiguring the application to run in the new environment. For this step, you’ll need to identify any/all application configuration related files. If file paths or database login credentials have changed, you’ll need to update those paths and connection strings in the application at the destination server environment.
These initial steps are generally the easiest part of the process. Now we get down to the details.
Depending on the type, version, build and complexity of your web application, it may require specific server settings (web, database, file system permissions, etc.) and dependencies (libraries, services), which must be configured in accordance with the requirements of the web application. It stands to reason this is a much simpler process if you have a thorough deployment document which details all your configuration requirements, or if you have a DevOps team who are extremely familiar with the deployment process; however if these resource are not available to you, then you may be facing a seemingly endless ‘trial and error’ process.
If you’re migrating to a load balanced environment, you will need to clone web-heads to the additional web servers or repeat the process for the web/application files to all of the additional web-heads you plan to have in rotation. Additionally, you’ll want to set up file replication across the web-heads (rsync, lsync, glusterfs, etc.) If the web application is being load balanced for the first time, it needs to be load balancer-ready or some code changes will need to be done on the fly to accomplish the migration.
If you are planning to utilize multiple database servers, you’ll want to set up a master-master or master-slave configuration. Depending on the destination server architecture, this process can become quite complex – and again your application needs to have support for distributed databases.
Application Migration Best Practices Step 3: Test, Re-Test, and Test Again!
The most critical step in any migration process is comprehensive testing prior to going live. Once you’ve configured the destination server environment, assigned an IP to the application, restored the database(s) and reconfigured the application, it’s time for testing. We generally recommend modifying your local hosts file on your Windows or Mac computer. This simulates a go-live only for your local computer and allows it to access and test the migrated applications before go-live at the destination server environment. You’ll want to add a host line to your host’s file similar to the following:
{ip_address} {host_name1} {host_name2} .. {host_name_n}
For example :
255.255.255.255 site.com www.site.com store.site.com
Next, browse to your recently migrated application in the browser of your choice and navigate the site as you normally would on a daily basis – both as a user and as a site or application administrator.
For example, if you are migrating a Drupal CMS, try to log in as the administrator and publish some content updates to the migrated site. If you’ve migrated a Magento shopping cart, try to log in as the administrator and process an order or add a product, change a product attribute in Magento, etc. Test all functions/features of the migrated application to ensure functionality. If errors are present, document them in a single list for troubleshooting.
This can be the most difficult phase of the project depending on the complexity of your application and any version differences between the source and destination server environment. Often, the test phase involves programmatic intervention to resolve any code incompatibilities that may be due to version and/or configuration changes between the source and destination server environment. WSM sees this regularly and when we do we need to deploy our development team to resolve any programmatic issues during the test phase. If you’re performing the application migration on your own, you will want to have your programming team ready to take those steps as necessary.
Application Migration Best Practices Step 4: The Go-Live Event
At the conclusion of thorough functional testing and troubleshooting, and all errors are identified and resolved, the obvious next step is scheduling the go-live event. This is the most delicate part of any migration, and needs to be planned and orchestrated very carefully – every step needs to be well thought out, and ideally, you want to have a very detailed Go-Live checklist.
– Lower TTL Values
At least 48 hours before the go-live event is scheduled, you’ll want to lower the Time To Live (TTL) values on any domains that are going to need to be pointed to the new server environment during the go-live event. In most cases, you can lower these values to just 5 minutes (360 seconds), although some registrars require higher values. This will reduce the time of the DNS propagation. More information on TTL can be found here: http://en.wikipedia.org/wiki/Time_to_live
– Downtime
There are two options to consider depending on the impact a brief period of site unavailability may have on your business:
a) If your web application simply cannot be down (i.e. in a maintenance mode) even for a short period of time, your only option is setting up database replication and reverse proxy between servers. This can significantly increase the complexity, cost and project lifecycle for any migration.
b) If a temporary ‘maintenance mode’ is acceptable (i.e. your online store will not take new orders for perhaps as much as a few hours), this is a pretty simple step-by-step process:
- place the web application into a maintenance mode
- synchronize the data
- switch the DNS
Here are some options and ideas for this process:
Maintenance Pages?
It’s recommended that activity be temporarily ‘suspended’ on live website applications with active user-generated content, such as publishing, social media and e-commerce sites. Before the actual go-live event, you will choose a time where you suspend activity on the application and place a maintenance page on the live site so a final copy of the database can be taken and restored at the destination server environment before your domains are pointed there.
Important: If live site activity isn’t suspended, there’s a risk that database activity will be recorded at the source server environment after the final copy of the database is restored at the destination server – and that data can be incredibly difficult to merge.
If your application is largely static or your site content is managed by your internal staff, you can simply plan and ensure that no modifications are to be made during the time of the go-live event, and leave both the source and destination server environments active and ‘live’ during this process.
Database and File Synchronization
After placing a maintenance page on your live site/server (optional), you’ll want to take a final copy of the database from the source server environment and restore it at the destination server environment. In addition, you’ll want to search the source server environment for any/all files (usually images or documents) that have been added during the course of the initial migration, testing and troubleshooting, and restore them to the destination server environment. As noted in Step 1 Initial Migration, if any code changes have been made at the source environment after starting the initial data transfer, you’ll want to refer to your list of the modified files and move those over to the new server environment as well.
At the conclusion of the database and file synchronization, it’s always wise to perform a quick test of the application at the destination server environment.
DNS Changes
Once all files/databases have been synchronized and you’ve performed your quick test, you’ll want to login to your registrar or DNS service provider and change your A record(s) to point to the new server IP(s). Because you’ve lowered your TTL values 48 hours in advance, propagation (the time it takes for the DNS services around the world to reflect your IP change) should be quite fast. Usually, WSM sees propagation occur within 1-8 hours, as opposed to 24-72 hours which was the ‘norm’ a few years ago.
Application Migration Best Practices Step 5: Post-Migration Support
You’ll want to have a qualified team standing by to ensure full functionality of the site after propagation is complete. It is also highly recommended that you wait at least ten business days after propagation is verified and the new server environment and application is in production until you decommission the old server(s). You may also want to consider taking a final backup of the former source server(s) and retain those files on location at your business. All WSM migration services include 10 full business days of post-migration support if/as required, conditional upon availability and accessibility to the former source server(s).
Ultimately, if thorough planning, destination server setup, and comprehensive migration testing have occurred prior to the go-live event, the migration should be quite seamless.
Need some application migration assistance?
WSM has performed thousands of application migration projects of all sizes and for companies in all industries. We’re happy to help you plan and execute a smooth application migration. Read more on our migration process and how we can help. Learn more about application migration with our FAQ page to help answer more of your questions about this topic.


